Introduction
If you are here, I am assuming you already have a Streamlit application built out and are now looking to secure it with SSL. Even though Streamlit has built-in support for SSL, it is only recommended for development and the official documentation recommends using a reverse proxy with ssl for production deployments.
This post will show you how to configure NGINX as a reverse proxy on your Linux machine (Ubuntu in this case), obtain SSL certificates from Let’s Encrypt, and automatically configure NGINX to use them, including automatic redirects to HTTPS from HTTP.
NGINX setup
Installation
On the box where you want to run your NGINX reverse proxy, ssh into it and run the following commands to install NGINX. This is assuming your account has sudo privileges.
sudo apt update && apt upgradesudo apt install nginx
Now that you have NGINX installed, let’s make sure it is running properly.
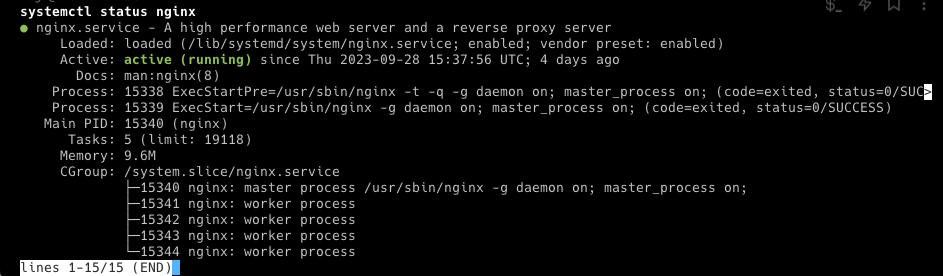
To check the status of the NGINX service, run the following command.
systemctl status nginx
You should an output similar to this, which means it is running without any errors.
Open a Web Browser and navigate to the IP address of the NGINX server. You should see the nginx landing page. Congratulations, you have NGINX running and successfully serving on port 80/HTTP.
Configuration
To configure NGINX as a reverse proxy, we need to edit the NGINX configuration file typically located at /etc/nginx/sites-available/default and add the below to the end of the file.
/etc/nginx/sites-available/default
map $http_upgrade $connection_upgrade {
    default upgrade;
    ''      close;
}

server {

	server_name streamlit.example.com;

	location / {
		proxy_pass			http://192.168.5.5:8501/;
		proxy_set_header	Host $host;
		proxy_set_header	X-Real-IP $remote_addr;
		proxy_set_header	X-Forwarded-For $proxy_add_x_forwarded_for;
		proxy_set_header	X-Forwarded-Proto $scheme;
		proxy_http_version	1.1;
		proxy_set_header	Upgrade $http_upgrade;
		proxy_set_header	Connection $connection_upgrade;
	}
}
One thing to note about Streamlit is the use of WebSockets and so we have to make sure we handle them properly. To help with that, we will use the map module to map specific states of Upgrade header to Connection header. This helps with WebService upgrade requests from the Streamlit frontend.
Also we setup Virtual Hosts to point to the Streamlit Instance IP and Port, (192.168.5.5 and 8501) in this example. Replace streamlit.example.com in this example with the actual hostname you configured DNS with for the NGINX reverse proxy server. This does the actual redirects.
Now restart NGINX
sudo systemctl restart nginx
Now that the reverse proxy is configured, let’s check if that works. Open a browser and navigate to the hostname that you configured in DNS, http://streamlit.example.com in my example. This should load your Streamlit app.
SSL setup
Now that we have the reverse proxy configured, let us setup SSL using Let’s Encrypt. Make sure port 80 of the NGINX server is open to the public for automatic verification of SSL issuance.
Installation
Install certbot and a tool to help with automatic configuration of NGINX with the new certs.
apt install certbot python3-certbot-nginx
Configuration
Let us issue certs for a couple of domain names. Replace the example.com domain name with yours.
certbot --nginx -d streamlit.example.com -d www.streamlit.example.com
The certbot utility will ask you whether it should automatically configure NGINX with the new certs and automatic redirect of HTTP to HTTPS, confirm if you want to. Once the command finishes successfully, (it may take a few minutes), let us restart NGINX to apply the new configuration changes.
sudo systemctl restart nginx
Now let’s check if everything works by navigating again to the hostname configured in DNS, http://streamlit.example.com in this example. This time, the browser should automatically redirect to https and your Streamlit app should load.
Conclusion
Now we should have the Streamlit application behind a NGINX reverse proxy and configured with SSL.